For detailed information on the prerequisites, Please refer to the System Requirements section before proceeding with the steps outlined in this guide.
Step 1: Download the ISO
- Visit the official download page and get the latest ISO file. Download ISO.
Step 2: Start the Installation Process
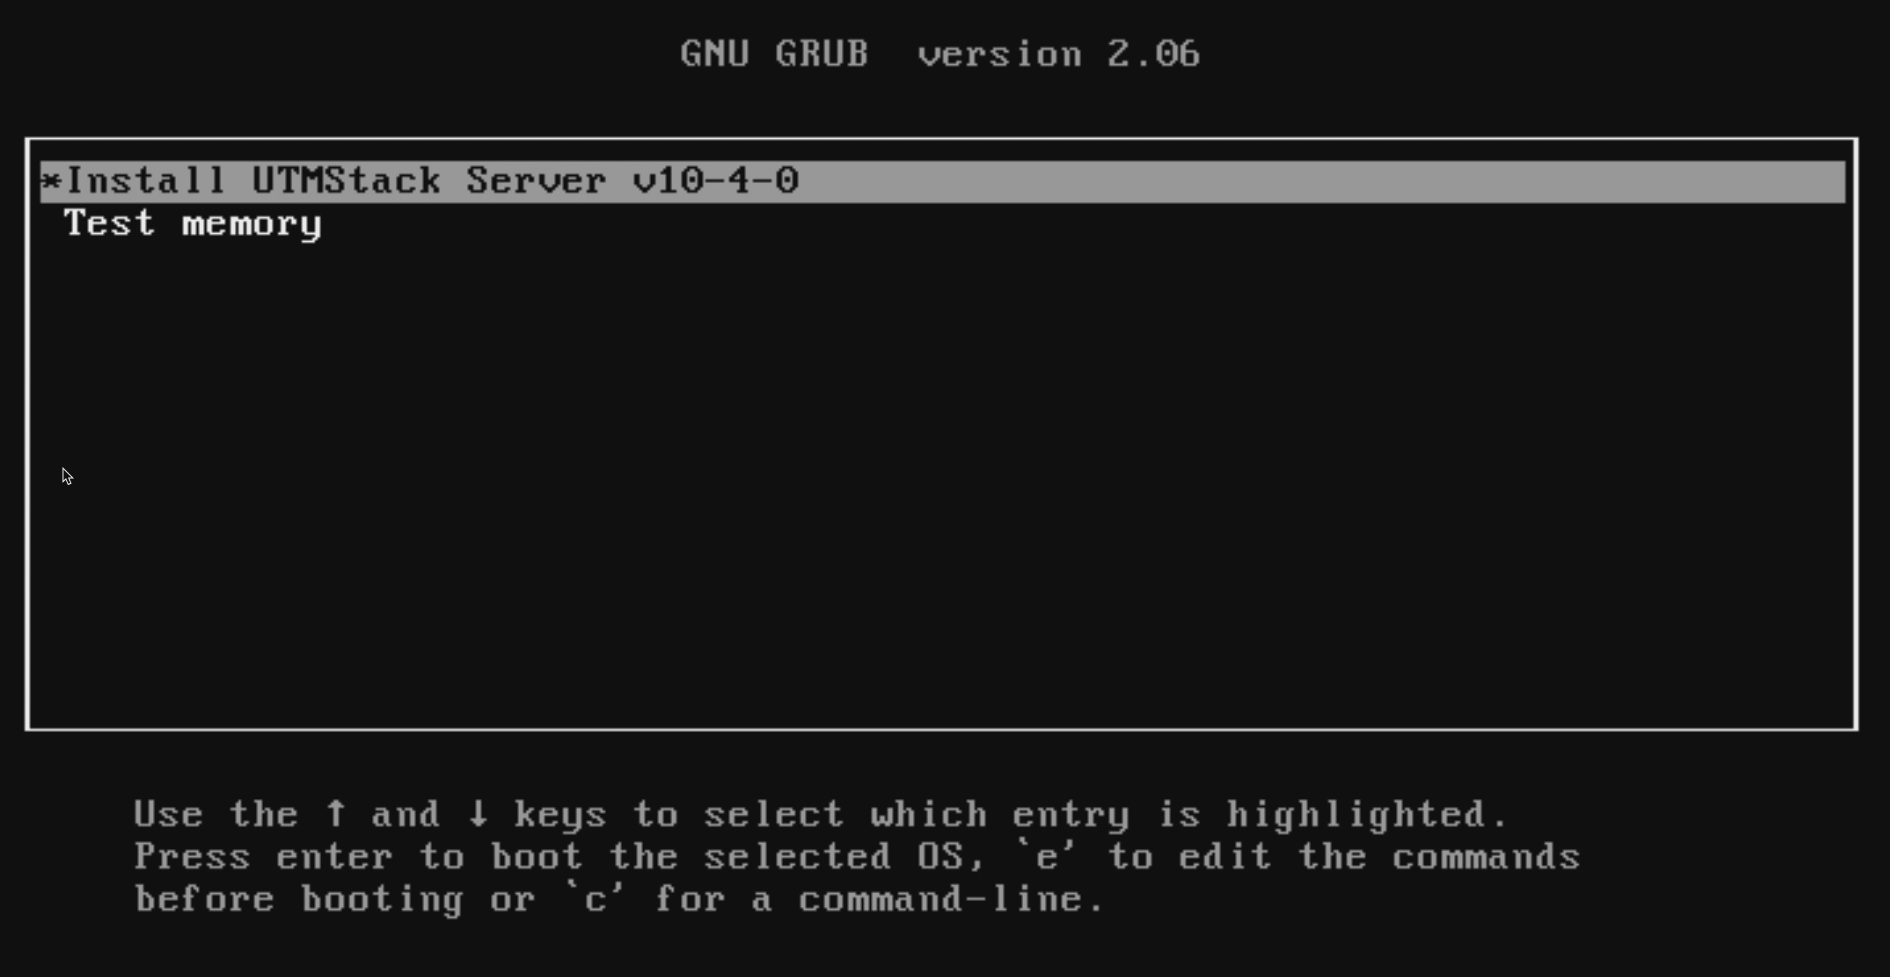
- Once booted, you’ll see the installation menu. Choose the Install UTMStack Server option to begin.
- Follow the on-screen instructions to configure disk partitions and other settings.
Step 3: Assign the Disk and Size
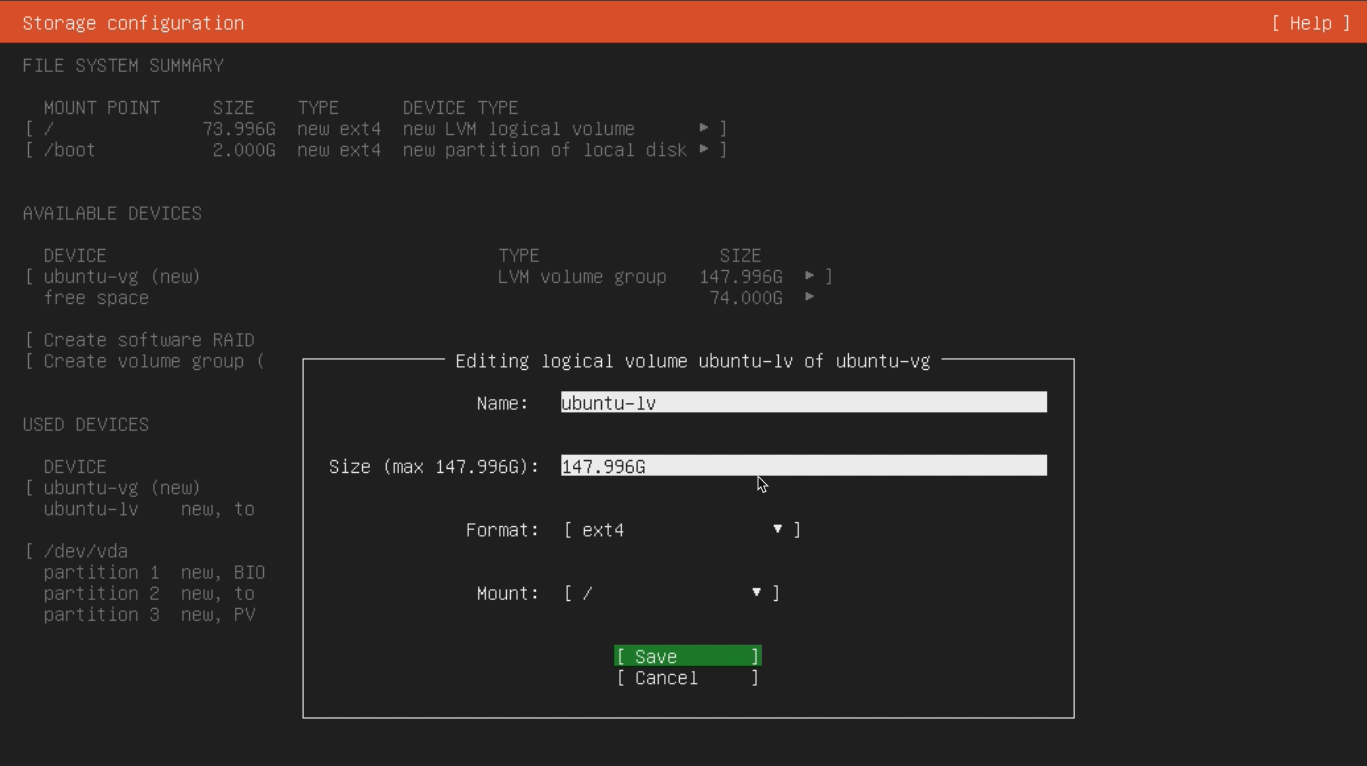
- In this stage, you will be presented with a storage configuration screen where you can edit logical volumes.
- Select the device and set the size of the logical volume you want to allocate. In this example, the logical volume “ubuntu-lv” is being edited, and its size is configured to the maximum available.
- Ensure that the format is set to
ext4and the mount point is/. - Click Save to save the configuration.
Step 4: Complete the Installation and Reboot
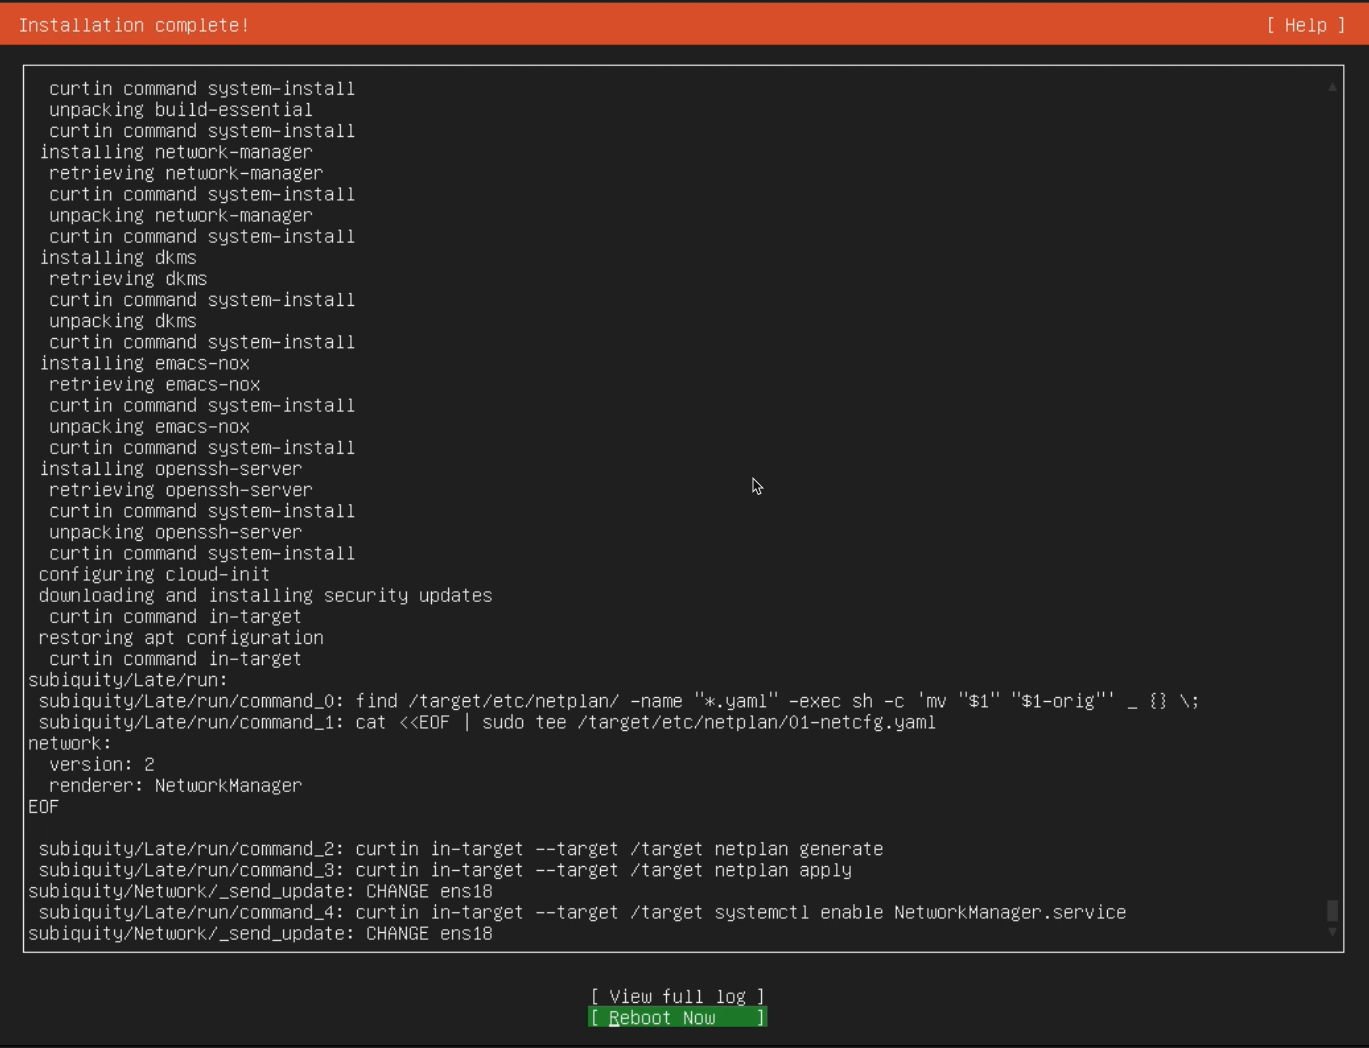
- Once the installation is complete, you will see a message indicating “Installation complete!”.
- Click on Reboot Now to restart the system.
-
After the reboot, the system will prompt you to log in.
- Username:
utmstack - Password:
utmstack
- Username:
- Enter the credentials to access the system.
Step 5: Server Initialization and Automatic Configuration
- After the reboot, the server will continue to configure automatically. This process might take several minutes depending on your internet speed, as UTMStack is setting up the necessary components.
-
You can monitor the configuration process by using the following commands:
[enter password for utmstack]

Step 6: Finalize Installation and Access the Web Interface
- Once all containers are installed and the stack is restarted, you can verify the final details of the installation by checking the output file shown in:
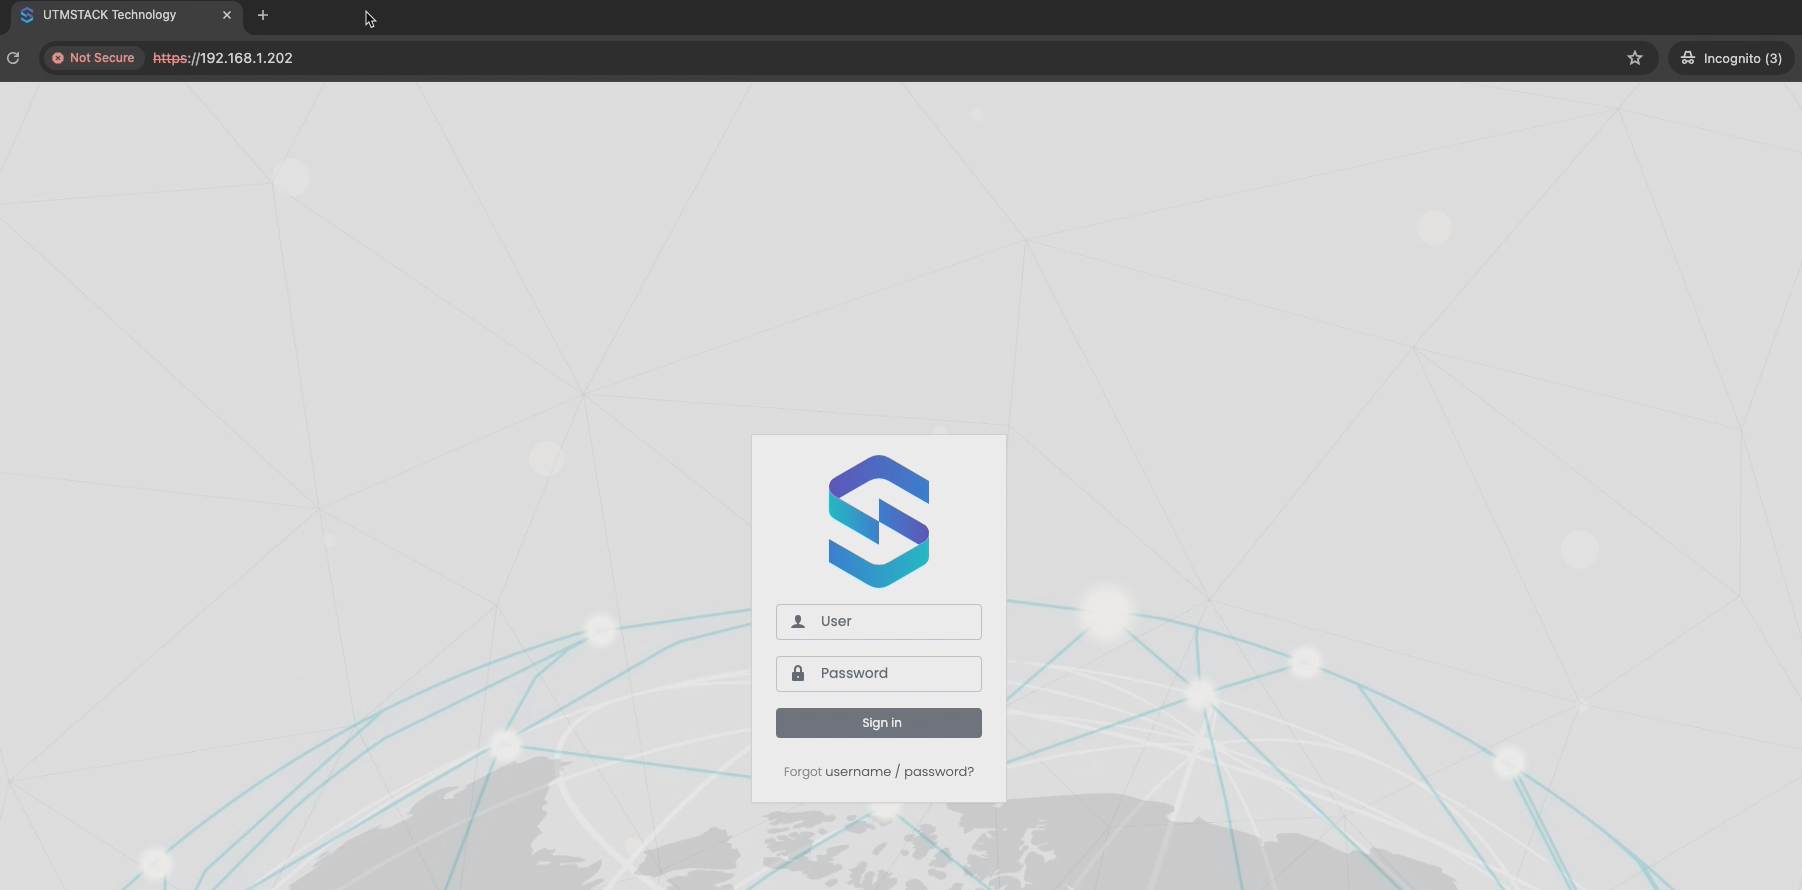
- After confirming that the installation has completed successfully, open a web browser on your computer or virtual machine.
- Enter the IP address obtained from the previous steps into the browser.
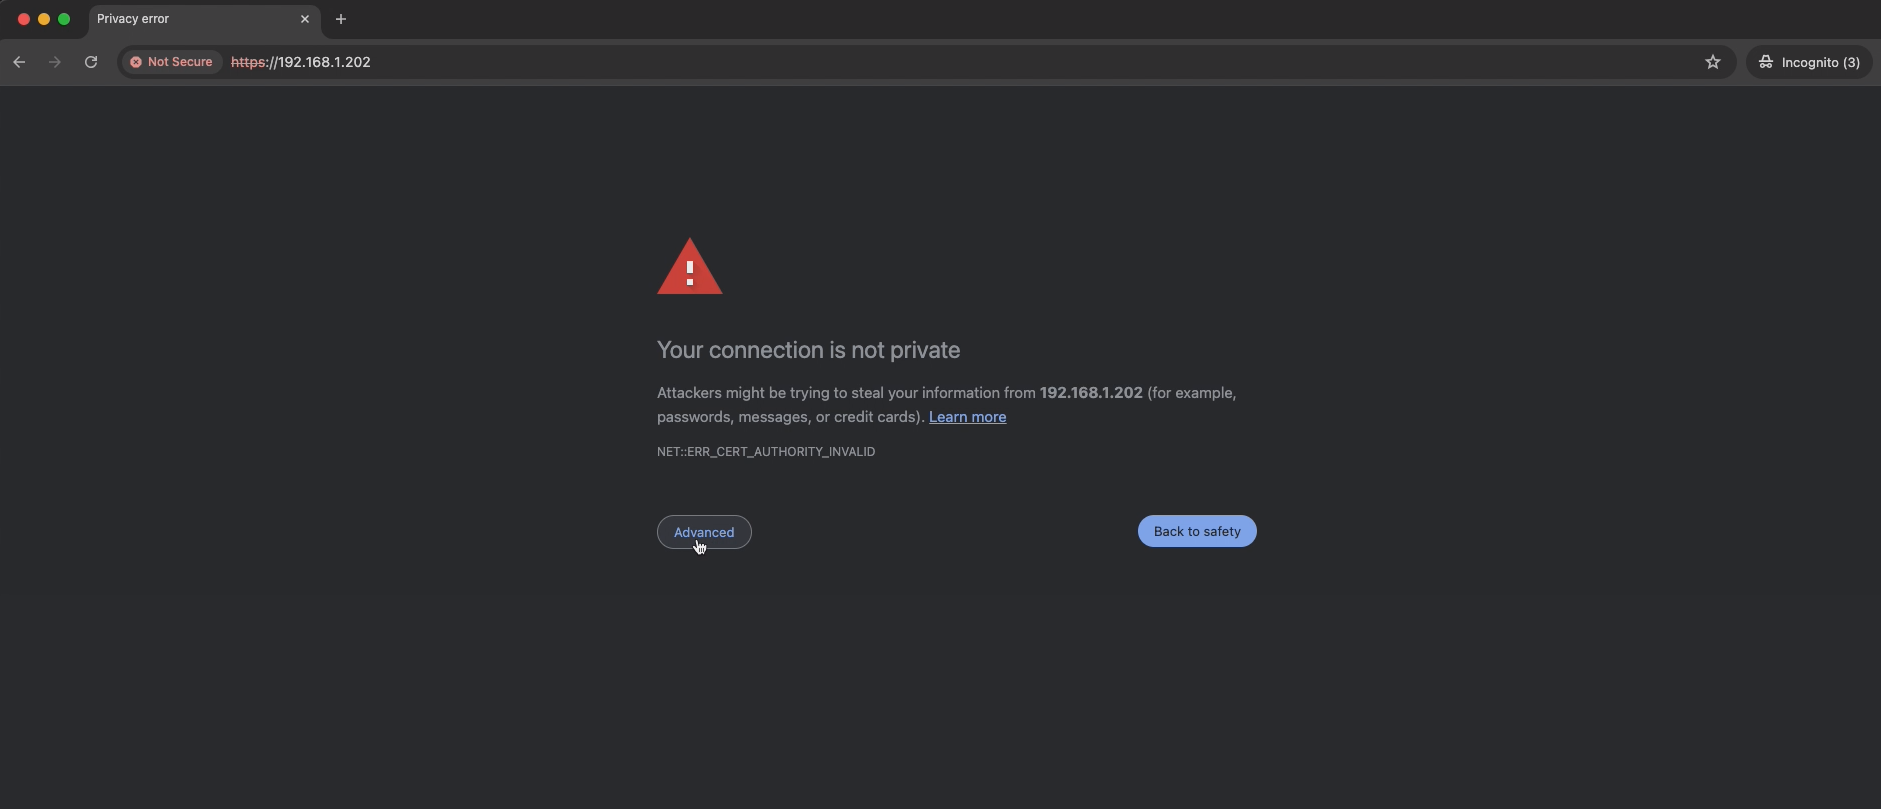
- When you see a warning about the connection not being private, click on Advanced and then Proceed to accept the certificate.
You will then be redirected to the UTMStack login page.